
To polish your video calls with a minimalist setup, keep your background clean and clutter-free, using simple decor or a plain wall. Position your camera at or just above eye level for a natural look, and guarantee good lighting by facing windows or adding soft, warm lights. Use a quality mic placed close to your mouth for clear sound. Minimize background noise by choosing a quiet space and testing your setup beforehand to make small adjustments for a professional appearance.
Key Takeaways
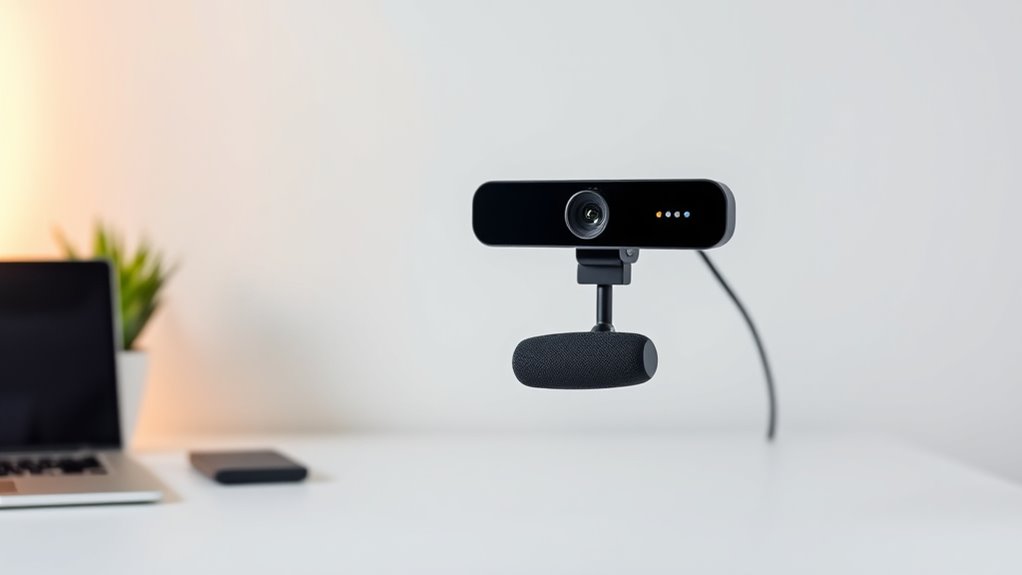
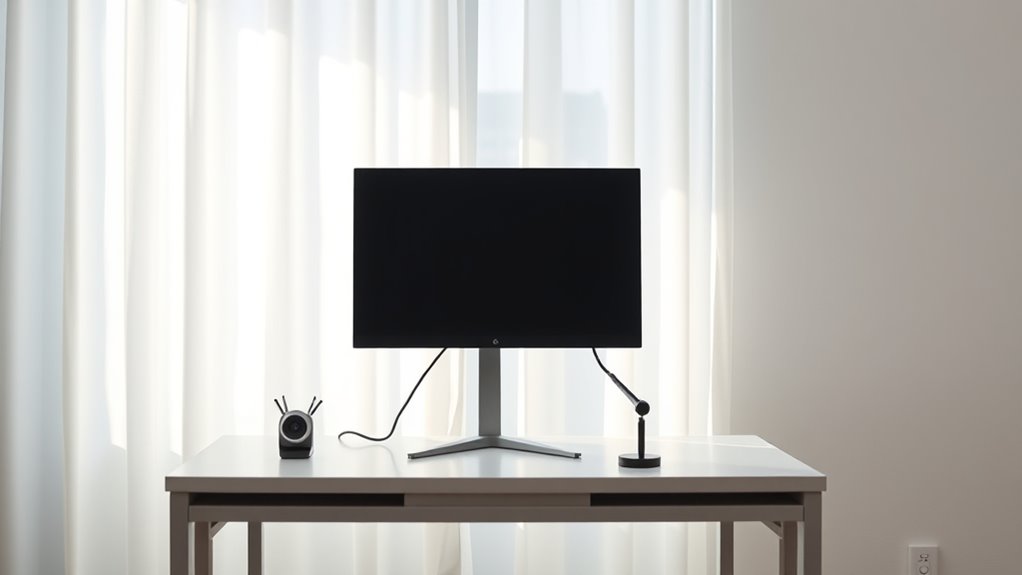
- Position your camera at eye level on a stable surface for confident, professional framing.
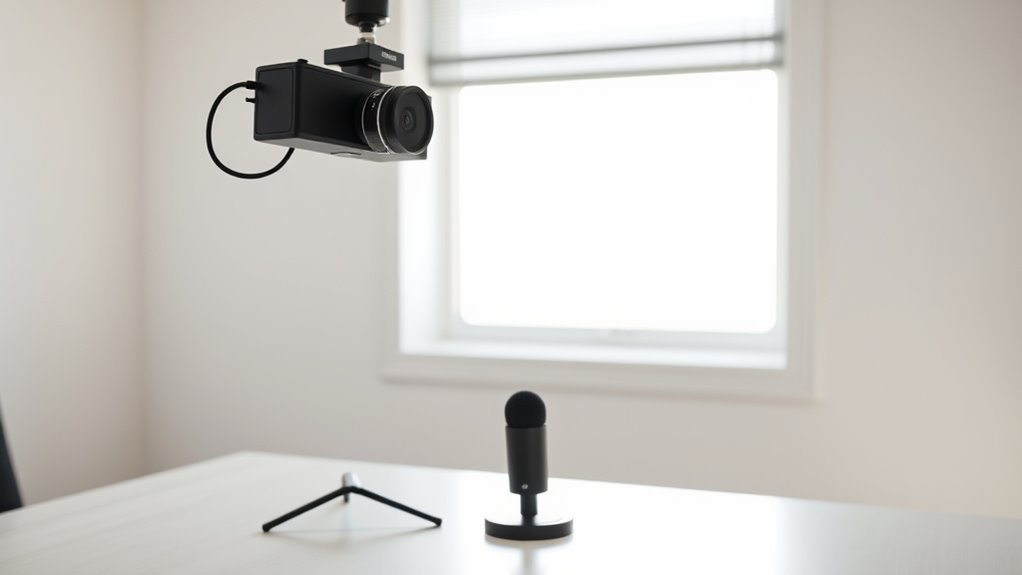
- Use soft, natural or diffused lighting facing windows to achieve even, flattering illumination.
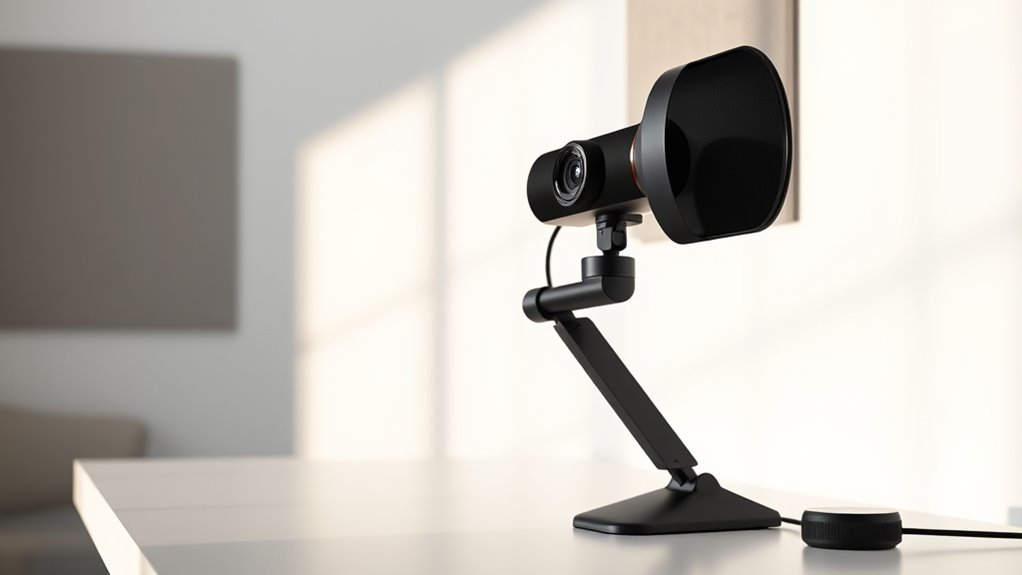
- Select a high-quality, close-mic USB microphone to ensure clear, focused audio.
- Keep the background minimal with tidy surfaces and subtle decor to avoid distractions.
- Test all setup elements—camera, lighting, and audio—before important calls for optimal quality.
Choosing a Clean and Uncluttered Background

When setting up for a video call, selecting a clean and uncluttered background is essential to make a good impression. Keep decorative elements minimal and purposeful, so they add style without distraction. Avoid overcrowding your space with personal artifacts that don’t serve a purpose or might appear messy on camera. Instead, choose a background that reflects professionalism and simplicity. A tidy space with a few well-placed decorative elements can convey personality without overwhelming the viewer. Clear surfaces and organized shelves help maintain a neat appearance. Remember, your background sets the tone for your professionalism and attention to detail, so choose carefully. A clean, uncluttered setup ensures your audience focuses on you, not your surroundings. Incorporating organized gardening tools or neatly arranged plant displays can also add a touch of natural calm to your background. Additionally, considering Water Parks in your area for a quick break can help refresh your mind during long work sessions. Embracing creative practice by arranging your space thoughtfully can foster a more inspiring environment for your calls. Moreover, using minimalist decor can enhance the overall harmony and focus of your background. Incorporating a reliable backup power system for your workspace can help ensure your setup remains uninterrupted during power outages, especially if you work remotely from areas prone to outages.
Positioning Your Camera for the Best Angle
Positioning your camera correctly can considerably improve how you appear on camera and guarantee your message comes across clearly. To achieve this, focus on camera height and eye level positioning. Place your camera so it’s at or just slightly above eye level, which creates a natural and engaging perspective. Avoid angles that look up your nose or cut off the top of your head, as they can be distracting. Use a stable surface or tripod to keep the camera steady. By aligning your camera at eye level, you foster a sense of connection and professionalism. Proper camera setup can also enhance your overall video quality and make your presentation more compelling. Additionally, ensuring proper lighting can significantly improve visibility and reduce shadows, making you appear more polished on camera. Incorporating ergonomic tools like adjustable stands or mounts can help maintain the correct positioning throughout your call. Remember, the goal is to make your viewers feel like they’re speaking directly to you, so adjusting your setup until your camera is perfectly positioned for a clear, confident appearance. Paying attention to background elements can also contribute to a more professional and distraction-free presentation. Taking into account the room environment can further optimize your video quality and ensure a comfortable setting.
Ensuring Proper Lighting With Natural and Artificial Sources

Good lighting is essential for a clear and professional video call. Properly balancing natural and artificial sources guarantees your face is well-lit without harsh shadows or color distortions. To achieve this, consider the following:
- Use natural light during the day, positioning yourself facing a window for soft, diffused light.
- Adjust artificial light sources to match the color temperature of natural light, around 5500K, for consistent skin tones.
- Incorporate light diffusion tools like softboxes or sheer curtains to soften any direct light.
- Avoid glare and uneven lighting by layering light sources and balancing their intensities, creating a harmonious, well-lit environment.
- Be aware of Gold IRA Rollovers options to diversify your investments and potentially improve your financial security, which can reduce stress during remote work and enhance your focus during calls. Additionally, understanding the importance of projector bulb maintenance can help ensure your devices operate reliably if you use a projector for video calls or presentations. Maintaining proper lighting setup is crucial for minimizing distractions and ensuring you look your best on camera. Properly monitoring AI behavior and employing AI safety measures can also help prevent technical issues that disrupt your calls.
Balancing color temperature and diffusing light enhances your appearance and reduces distractions during calls.
Selecting a Microphone That Enhances Audio Clarity

Choosing the right microphone is essential for guaranteeing your voice comes through clearly during video calls. Good audio quality depends on selecting a microphone that captures your voice without distortion or background noise. USB microphones are user-friendly and provide excellent sound clarity, making them a popular choice. When it comes to microphone placement, position it close to your mouth and at a consistent distance to optimize sound. Avoid placing it too far away, which can cause muffled audio, or too close, which may produce pops or distortion. Test your setup beforehand to ensure your voice is clear and natural. Proper microphone selection and placement help eliminate distractions and make your communication more effective during every call. Additionally, using microphone placement techniques can further enhance sound quality and reduce unwanted noise during your meetings. Implementing noise reduction methods can significantly improve overall audio clarity and minimize background interruptions. Utilizing proper equipment can also make a noticeable difference in achieving professional-quality audio. Regularly updating your audio equipment ensures consistent performance and adapts to evolving technology. Using exfoliation techniques can improve skin clarity, reducing the need for excessive background adjustments or distractions during video meetings.
Minimizing Background Noise and Echo
Background noise and echo can markedly disrupt the clarity of your video calls, making it harder for others to understand you. To combat this, you can apply soundproofing techniques and echo reduction methods. Start by sealing gaps around doors and windows to block external noise. Use soft furnishings like rugs, curtains, and cushions to absorb sound and reduce echo. Consider installing foam panels or diffusers for better soundproofing. Additionally, position your microphone away from reflective surfaces to minimize echo. Incorporate AI-powered sound analysis tools to identify and mitigate problematic noise sources more effectively. Here are four effective strategies:
Effective soundproofing and microphone placement improve video call clarity by reducing noise and echo.
- Seal gaps and add soft furnishings
- Use sound-absorbing panels or diffusers
- Place your microphone thoughtfully
- Choose a quiet, enclosed space
Implementing these tips guarantees clearer audio and a more professional video call experience.
Using Simple Camera Settings for a Clear Image
To guarantee your video calls look sharp and professional, it’s crucial to use simple camera settings that enhance image clarity. Start by adjusting your camera resolution to a high setting, which ensures your image remains crisp even when zoomed in. Enable image stabilization if available; this reduces shaky footage and keeps your video smooth. Focus on these key settings:
| Setting | Benefit |
|---|---|
| Camera resolution | Clear, detailed image |
| Image stabilization | Smooth, steady video |
| Focus mode | Keeps subject sharp |
| Exposure adjustment | Proper brightness in different lighting |
Tweaking these basic settings can significantly improve your video quality without complex adjustments, making your calls look more professional and engaging. Additionally, understanding contrast ratio can help you optimize your camera’s exposure and lighting conditions for better visual clarity. Adjusting white balance can also improve color accuracy, ensuring your video appears natural under various lighting scenarios. For optimal results, consider also reviewing your lighting setup to prevent shadows and overexposure, which can detract from your overall video quality. Moreover, being aware of camera sensor technology can help you select devices that perform better in diverse lighting environments. Recognizing the role of lighting in video quality can further assist you in creating a balanced and professional look.
Incorporating Basic Lighting Techniques for Balance and Warmth

Using natural light is a simple way to brighten your face and create a welcoming look. To prevent harsh shadows, diffuse strong light sources with a curtain or softbox. Adding warm tones through lighting or filters can make your video feel more inviting and cozy.
Use Natural Light
Have you ever wondered how natural light can transform your video calls? Proper lighting placement using natural light creates a warm, inviting atmosphere and reduces harsh shadows. To make the most of natural light, consider these ideas:
- Position yourself facing a window for even, flattering illumination.
- Avoid direct sunlight that causes glare; instead, let light flood in softly.
- Use sheer curtains to diffuse harsh sunlight and prevent overexposure.
- Adjust your position throughout the day to maintain consistent lighting.
Diffuse Harsh Shadows
Natural light creates a beautiful, soft glow during your video calls, but sometimes it can cast harsh shadows that distract or unflatter. To soften harsh shadows, use a sheer curtain or a white cloth over windows to mellow the light and create a more even, gentle illumination. Position your light source at a 45-degree angle to your face to reduce sharp shadows and promote a balanced look. If you’re using artificial lighting, opt for softboxes or place a diffuser between the light and your face to spread the light evenly. By diffusing harsh shadows, you ensure your face is evenly lit with soft light, making you appear more natural and professional on camera. This simple step dramatically enhances the overall quality of your video call setup.
Add Warm Tones
Adding warm tones to your lighting can instantly create a more inviting and flattering appearance on camera. Warm lighting enhances your skin tone and adds a cozy feel, aiding in effective color grading and strengthening your visual storytelling. To achieve this, consider these techniques:
- Use warm-colored bulbs or filters to introduce subtle amber or orange hues.
- Adjust your camera’s white balance settings for warmer tones.
- Incorporate practical lights, like table lamps, with warm bulbs.
- Position lights to avoid cool shadows and ensure even, warm illumination.
These simple adjustments help balance your lighting, making your video calls look more professional and personable. Warm tones not only improve color grading but also create a sense of intimacy, engaging your audience more effectively.
Organizing Your Space for a Professional Look

Wondering how to make your video call background look polished and professional? Start with good desk organization—keep your workspace tidy and free of clutter. A clean surface creates a more professional impression and minimizes distractions. Pay attention to cable management by neatly bundling and hiding cables behind your desk or along the edges. Use cable clips or sleeves to prevent tangling and keep cables out of sight. Clear surfaces and well-managed cables make your setup look intentional and streamlined. Avoid cluttered backgrounds or visible messes that can distract viewers. A thoughtfully organized space reflects your professionalism and ensures all focus stays on you during calls. Taking these simple steps helps you cultivate a polished, distraction-free environment perfect for any important video meeting.
Testing and Adjusting Your Setup Before Important Calls
Before joining an important video call, it’s crucial to test and adjust your setup to make certain everything runs smoothly. Doing a trial run helps catch issues with lighting, audio, or camera angles. Use your tech checklist to verify all components are working correctly. Here’s what to focus on:
Testing your setup before a video call ensures smooth, professional communication.
- Test your camera angle and framing to ensure you’re centered and well-lit.
- Check your microphone’s clarity and volume, adjusting positions if needed.
- Confirm your lighting provides a natural look without glare or shadows.
- Run a quick recording or call to verify sound and video quality.
Performing these steps beforehand helps you identify and fix problems, ensuring a professional appearance and smooth communication during your important call.
Frequently Asked Questions
How Can I Reduce Glare on My Camera During Calls?
To reduce glare on your camera during calls, position yourself so that natural or artificial light doesn’t directly hit your face. Use glare reduction techniques like adjusting your lighting angle or adding a diffuser. You can also try camera filters that minimize reflections and glare, providing a clearer image. Regularly clean your camera lens to prevent any smudges that can worsen glare, ensuring your video remains professional and sharp.
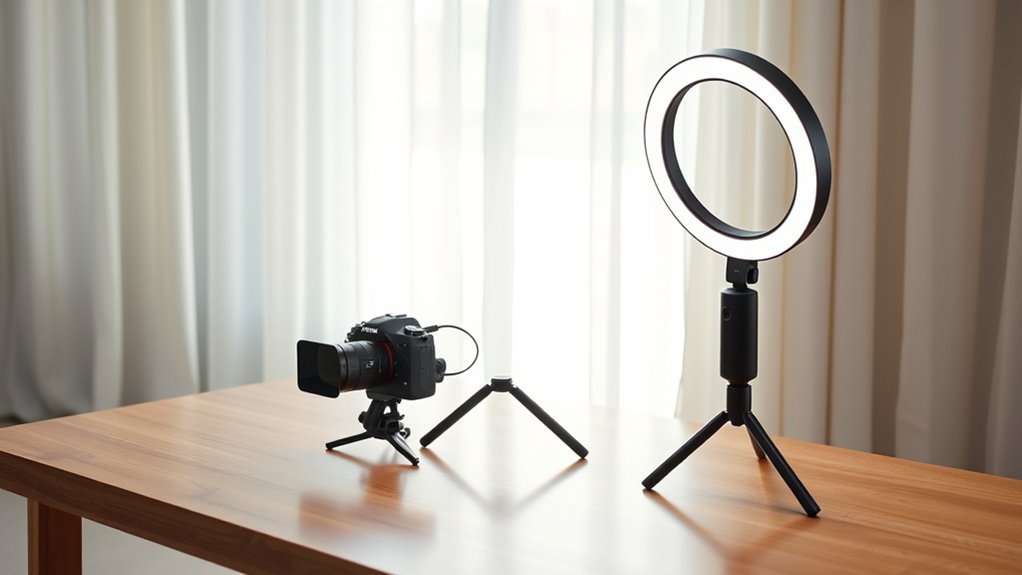
What Are the Best Portable Lighting Options for On-The-Go Setups?
Your portable lighting setup can be a game-changer! Opt for compact ring lights or portable LED lights that are lightweight and easy to pack. These options provide bright, even lighting without taking up much space, perfect for on-the-go setups. Look for adjustable brightness and rechargeable batteries to make sure you’re always ready. With these tools, you’ll look professional and polished, no matter where your calls take you.
How Do I Prevent My Microphone From Picking up Keyboard Sounds?
To prevent your microphone from picking up keyboard sounds, focus on soundproofing techniques like using a desk mat or foam panels to dampen noise. Position your microphone slightly away from your keyboard, ideally overhead or to the side, to minimize noise capture. Additionally, consider using a directional microphone, which focuses on your voice and reduces ambient sounds, ensuring clearer audio during your calls.
What Camera Accessories Can Enhance Video Quality Without Clutter?
To boost your video quality without clutter, use camera lens filters to improve clarity and reduce glare, making your image sharper. Pair them with sleek camera mount accessories that keep your setup minimalist and stable. These accessories are compact, easy to install, and help you achieve professional-looking footage without adding bulk. Focus on simple, effective upgrades like these to enhance your video calls while maintaining a clean, clutter-free workspace.
How Should I Arrange My Desk for Optimal Camera Framing?
Think of your desk as a stage; arrange it so your camera captures your best angle. Keep your essentials within arm’s reach, maintaining organized desk organization for a clutter-free look. Position your camera at eye level to guarantee ergonomic positioning, preventing strain. Place your microphone nearby but out of the shot, and ensure good lighting from the front. This setup helps you appear confident and natural during your video calls.
Conclusion
With a clean, coordinated setup, you can confidently conquer calls with clarity and class. Keep your camera, mic, and lighting simple yet stunning, ensuring your space stays streamlined and sophisticated. Regularly review and tweak your tech to tackle technical troubles before they trip you up. By balancing basic beauty with practical purpose, you’ll boost your professional presence and project power through polished, perfect video calls.